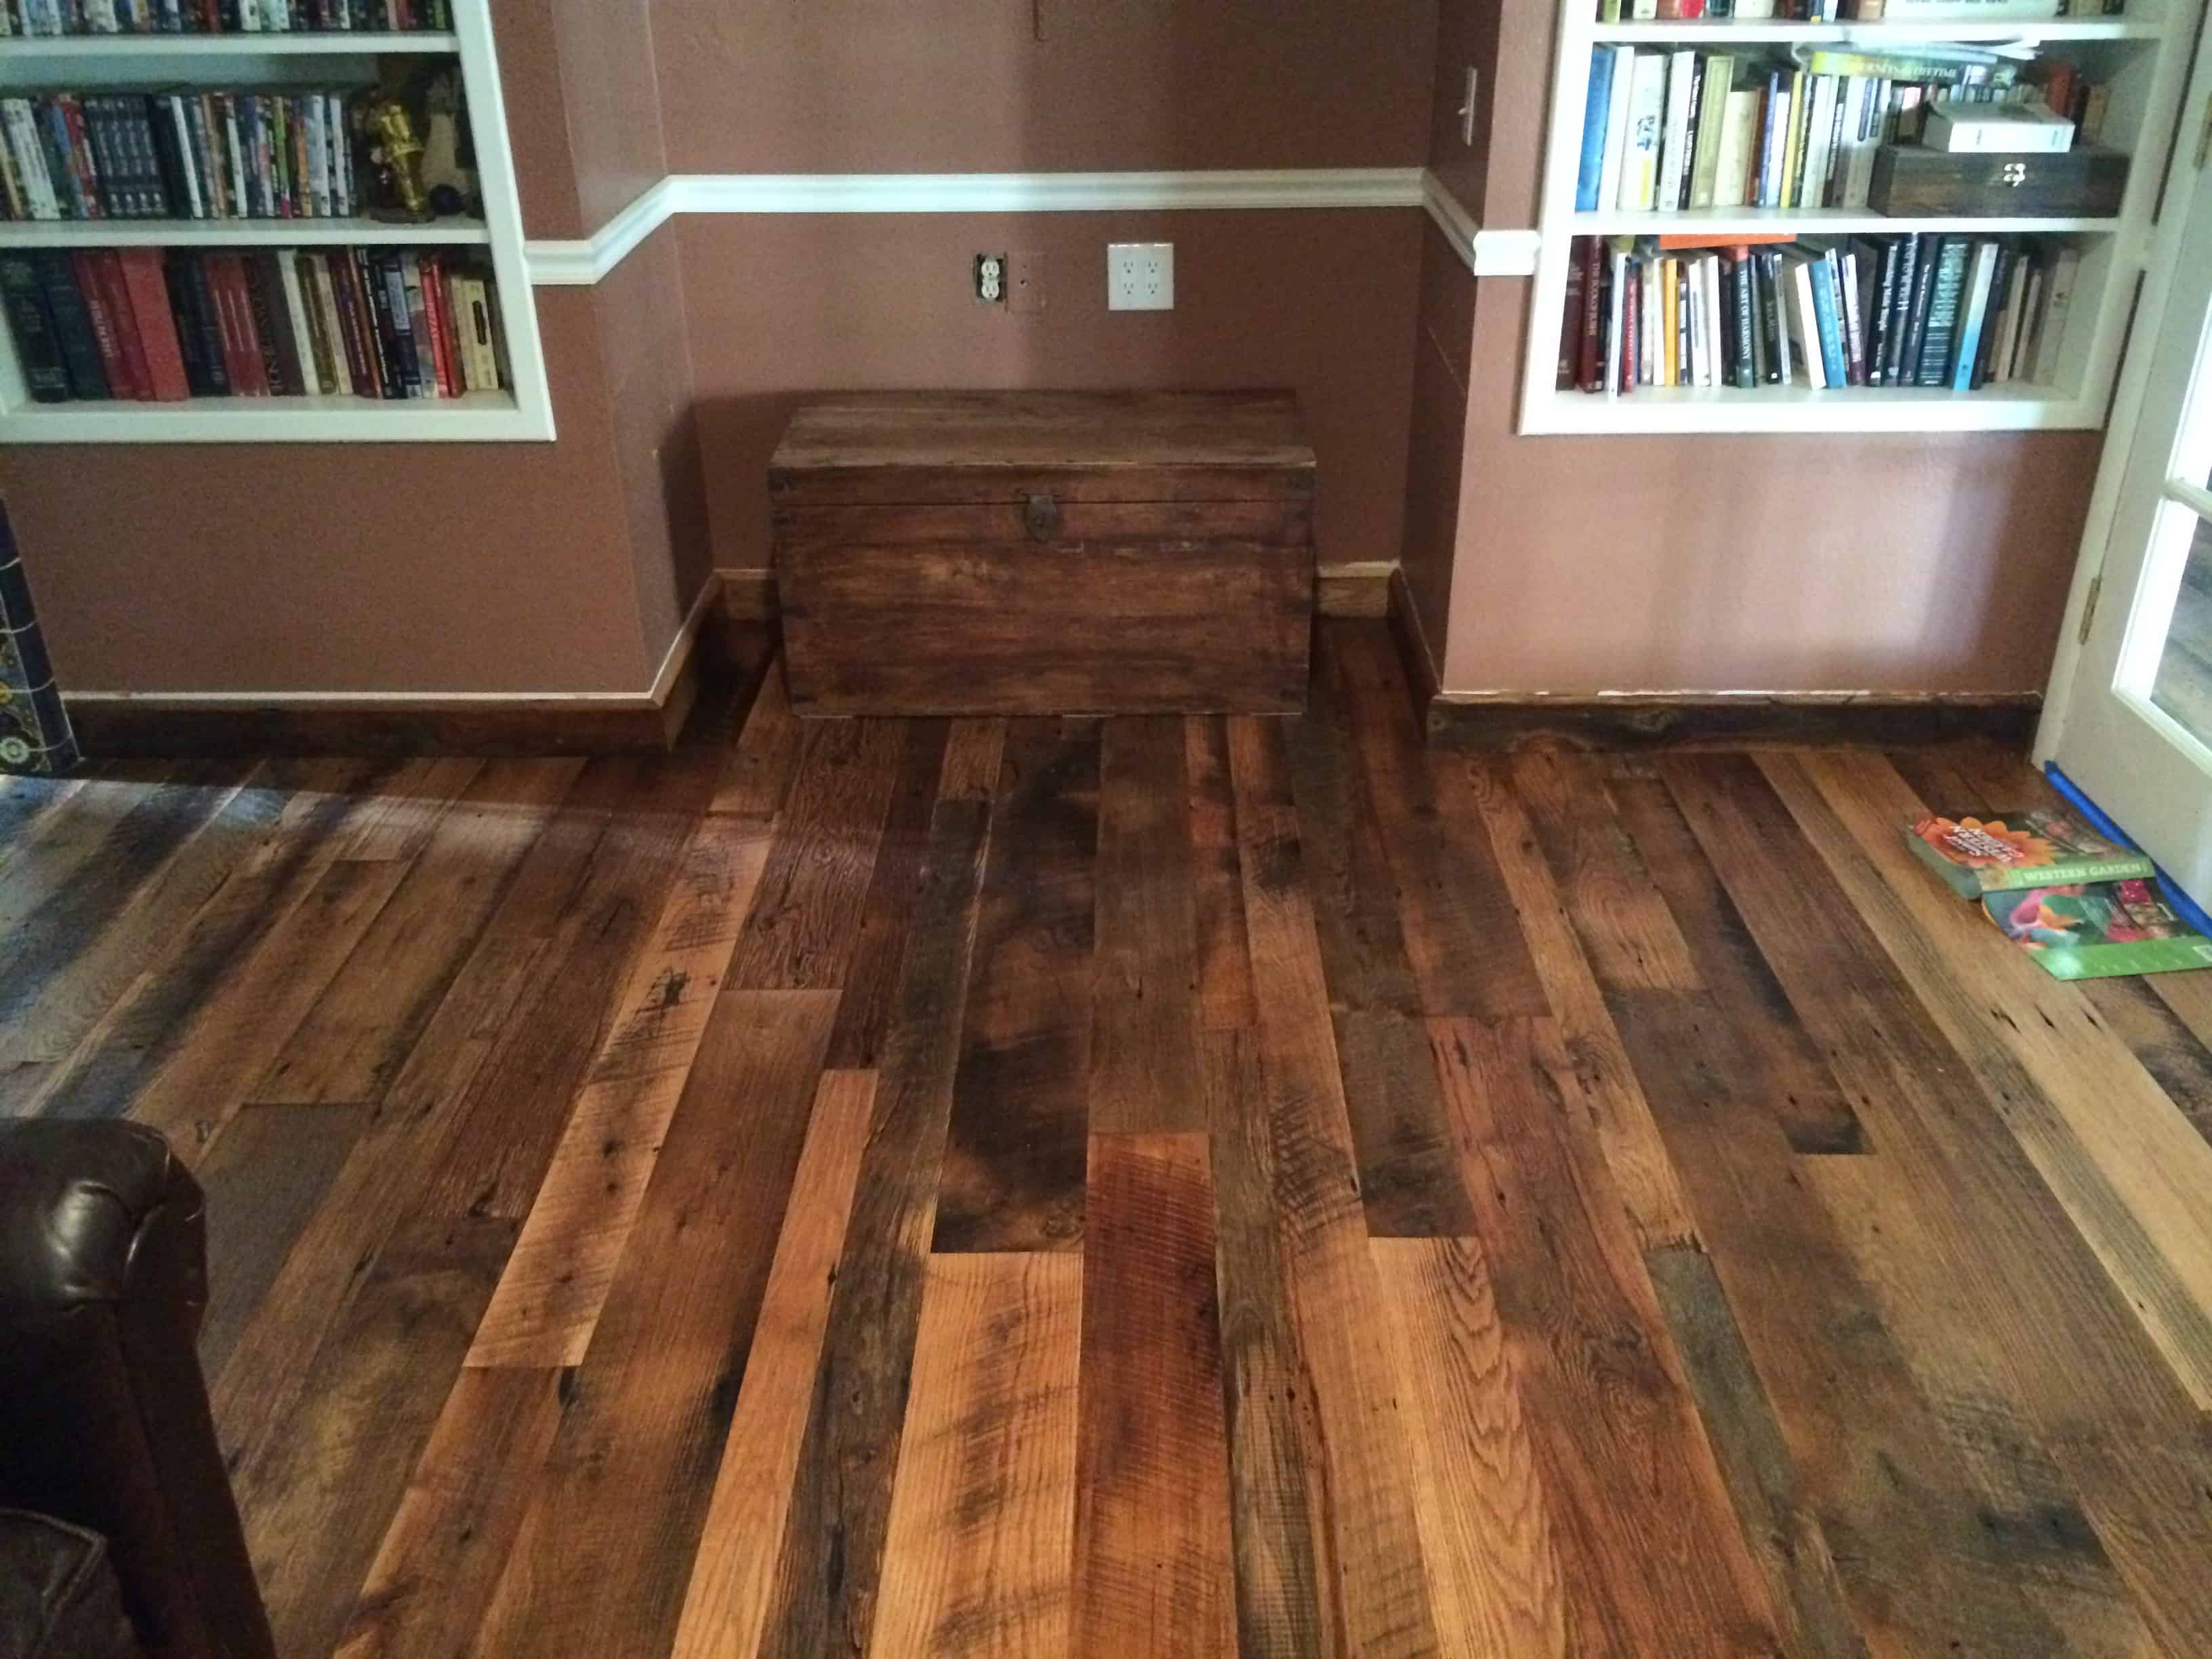
How Do You Install Hardwood Floors?
Are you thinking of putting a wooden floor at home and the price is not right. The wooden floors have a very elegant and warm appearance, is sold in sheets and is a success for any house, we help you save costs by putting it yourself at home and we also teach you how to put it. This article will also teach you on the proper steps for leveling floors for hardwood.
Step 1
The floor where the wood floor is to be placed must be smooth, level, clean and free of moisture. You may need to purchase good floor leveling compound for wood subfloors. Moisture and leveling is the most important; If there is moisture, first eliminate the cause and wait until the surface is completely dry and if you do not know how to level use leveling paste.
Step 2
Remember that the wooden floor lifts at least 12 mm, so you have to be aware of the low of the doors in case you need to brush them. This should be enough space for floor leveling compound for wood.
It is better to always finish the installation on the door, you can start next to the smoother wall or also on the front wall to the door. If you do it in a corner, confirm that it is square, it is advisable to start with a square and measured area.
Step 3
Use a guide rail on the floor that will help you not to twist when you put the pieces on it.
Prepare and remove the wood floor adhesive and apply it on the floor evenly with the notched squeegee. Read carefully in the container of the adhesive the time you have to place the sheets to not apply it in more area than touch.
Step 4
Once ready, we will move on to the placement. You must place the first piece with great care, this strip of wood will mark the entire rear alignment. It is important that there is no space between part and piece, if the adhesive overflows the joints, clean it immediately with a cloth dampened in water.
Step 5
Before applying the mixture of the wooden track must be prepared. All the broken planks necessarily reinforced by means of screws, and all the protruding heads nails or screws below ground level. Then, the base is refined and carefully cleaned of dust and removes the layers of paint and varnish, with a vacuum cleaner.
All the wide gap sealed with acrylic mass
Continue like this throughout the room where you are placing it, with these indications, time and patience you will surely get a good result.
If any board is damaged, you can simply put the setting in the same place. Easy replacement of the card will lead to differences in the color of the floor.
Of course, each method has its advantages and disadvantages, so when it is selected it must be guided by a particular situation and its own financial resources. Only carefully weigh all the pros and cons of each method, you can make the final decision and get a very high quality output in the coming years.